How Custom Caps Are Made: 8 Simple Steps for Brands
Learn how custom caps move from design brief and sampling through material approval, decoration, quality control, bulk production and shipment.
Custom caps are usually made in three stages: plan the product, approve a sample, and produce the order. The buyer and supplier confirm the cap style, logo, materials, quantity, quality requirements and delivery details along the way.
You do not need to know every manufacturing term before contacting an OEM or ODM supplier. A reference photo, your logo, an estimated quantity and the delivery country are enough to start a useful conversation.
Quick answer: what is the custom cap production process?
- Share the product idea and order needs.
- Choose the cap style and fit.
- Confirm materials, colors and logo method.
- Review the design and quotation.
- Check and approve a physical sample.
- Confirm the bulk production order.
- Inspect the caps during and after production.
- Pack and ship the finished order.
Stage 1: plan your custom cap
Step 1: share your idea and order needs
Start with the information you already have. Tell the supplier who the cap is for, how it will be used and what you want it to look like. A reference photo is useful even when the design is not final.
- Your logo or artwork
- A reference cap or product photo
- Estimated quantity
- Preferred colors
- Target delivery date
- Delivery country or postal code
Step 2: choose the cap style and fit
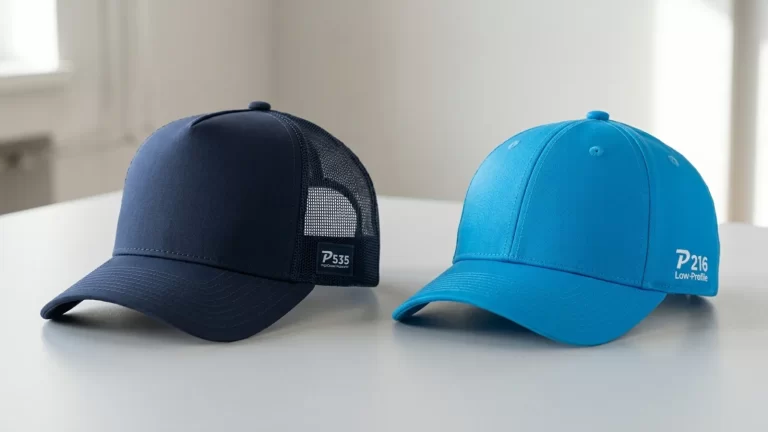
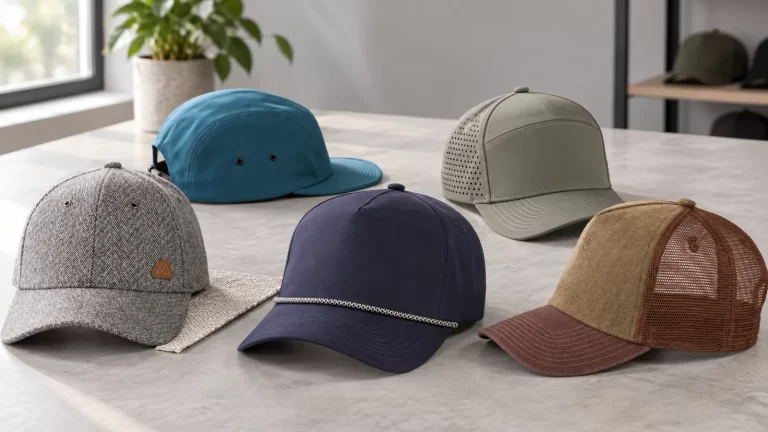
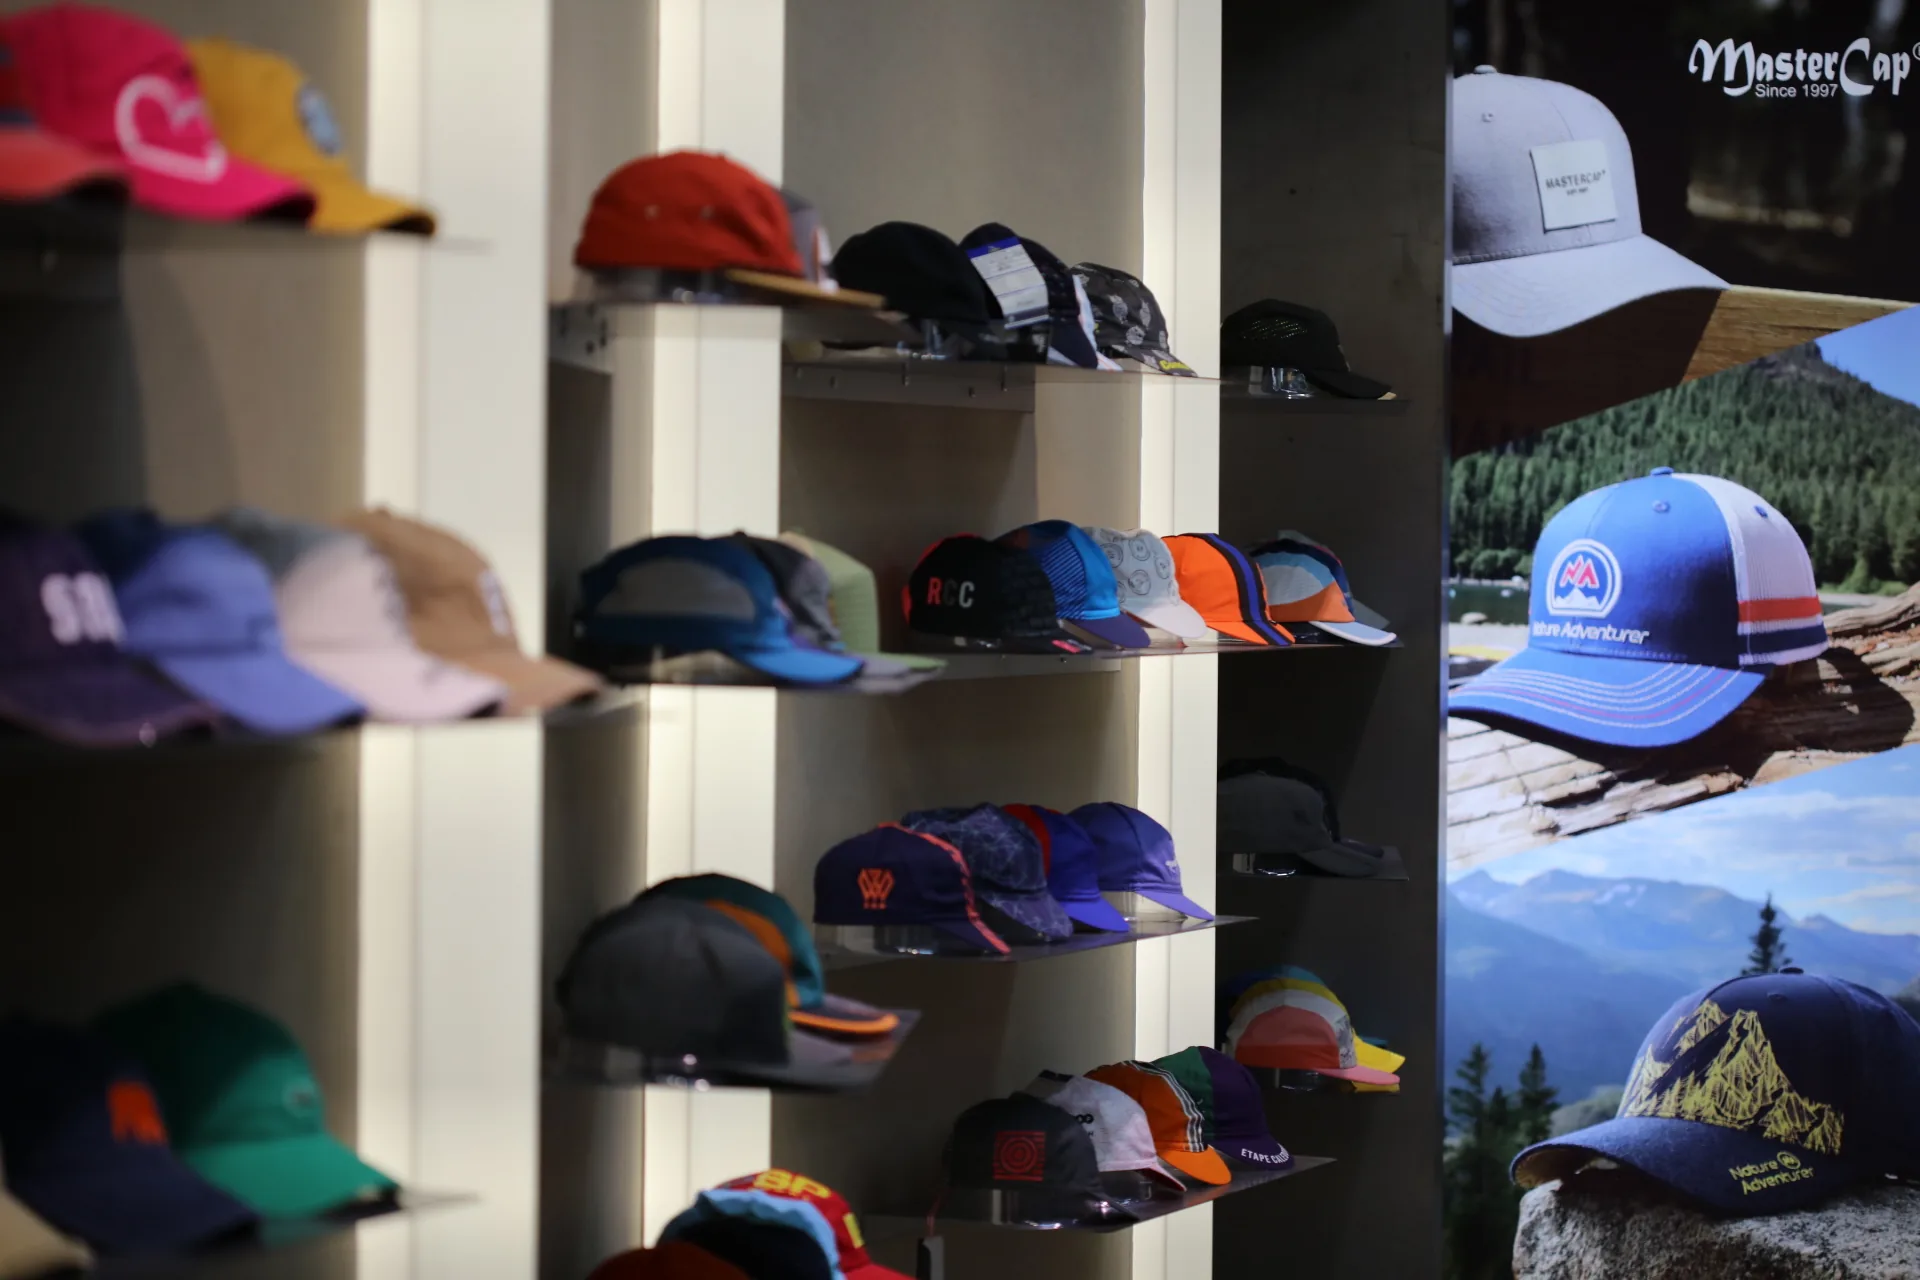
Choose the basic shape before discussing small details. Options may include a baseball cap, trucker cap, snapback, dad cap, camper cap, visor or bucket hat. Also consider the front shape, visor shape and type of back closure.
If you are comparing shapes, see the MasterCap Shape & Fit Guide. The Cap Components Guide explains the main parts in simple terms.
Step 3: confirm materials, colors and the logo
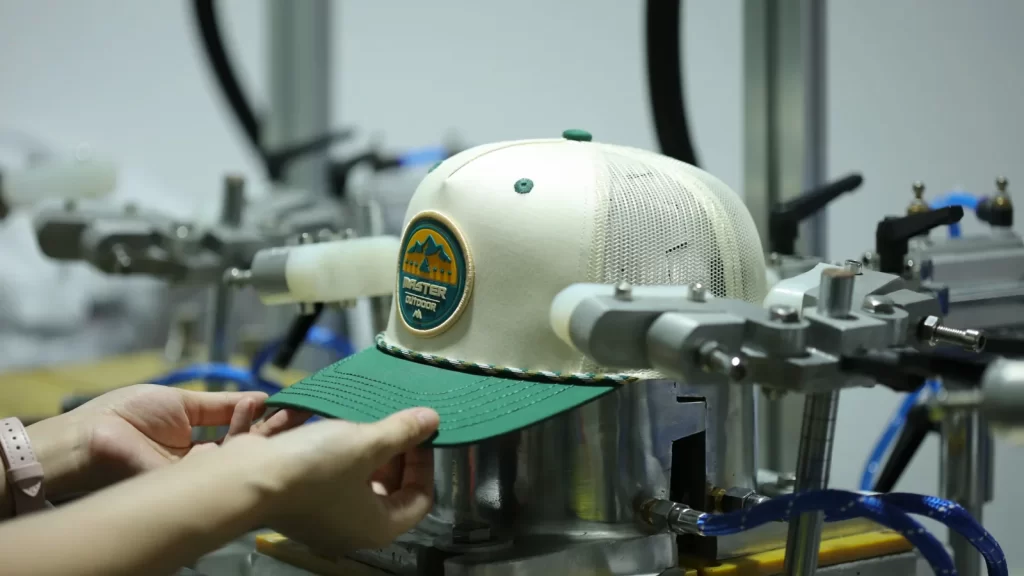
Confirm the fabric, main colors and how the logo will be added. Common choices include embroidery, patches and printing. The best option depends on the artwork, cap shape, fabric and the look you want.
Send a clear logo file if possible. Also mention any inside labels, hangtags or special packaging you need.
Stage 2: review the design and sample
Step 4: review the design and quotation
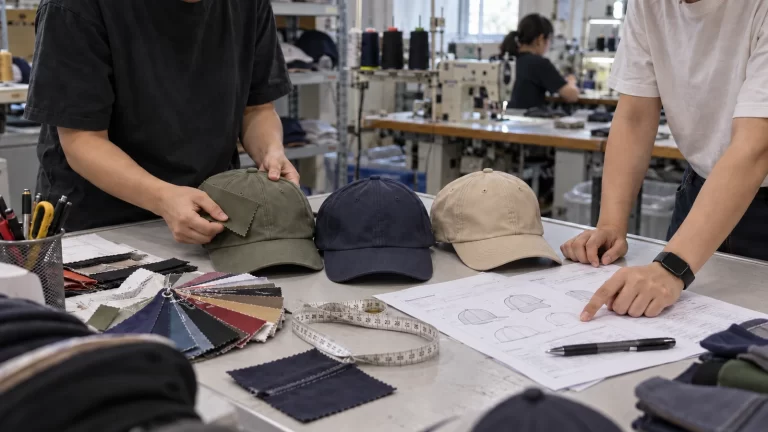
Before making a physical sample, check the cap style, colors, logo size, logo position and any labels or packaging. The quotation should make clear what is included and what still needs confirmation. Quantity, materials, decoration and packaging can affect the final price and minimum order.
Step 5: check and approve a physical sample
A physical sample lets you see how the full cap works together. Do not check only the logo. Wear the sample and review:
- Overall shape and fit
- Fabric color and feel
- Visor shape and stitching
- Logo size, position and appearance
- Closure, inside labels and finishing
- Agreed packaging details
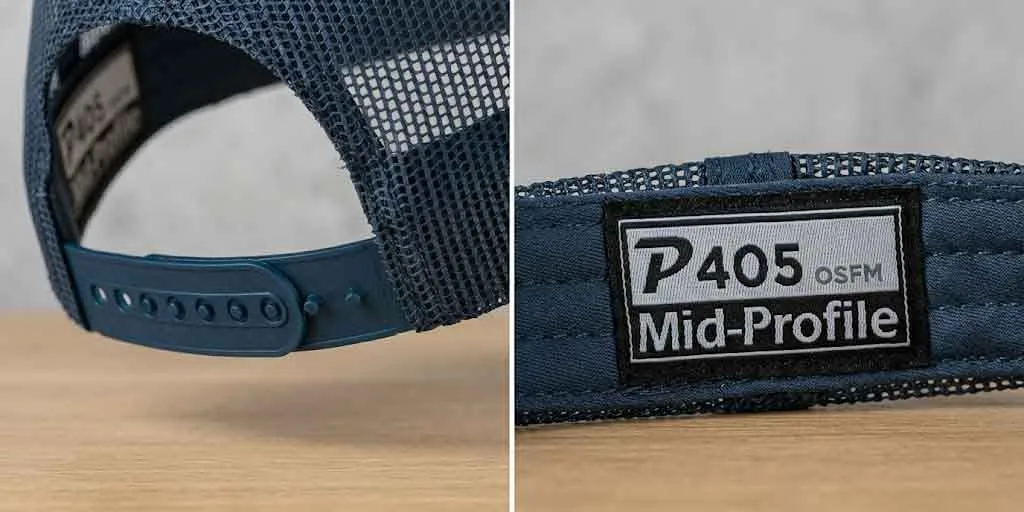
Put requested changes into one clear feedback list. When the sample is approved, keep it as the main visual reference for production.
Stage 3: produce, inspect and deliver the order
Step 6: confirm the order for bulk production
Bulk production should begin only after the sample, product details, quantity, packing requirements and commercial terms are confirmed. The final schedule depends on the materials, design, order size and production plan, so use the confirmed quotation or order agreement.
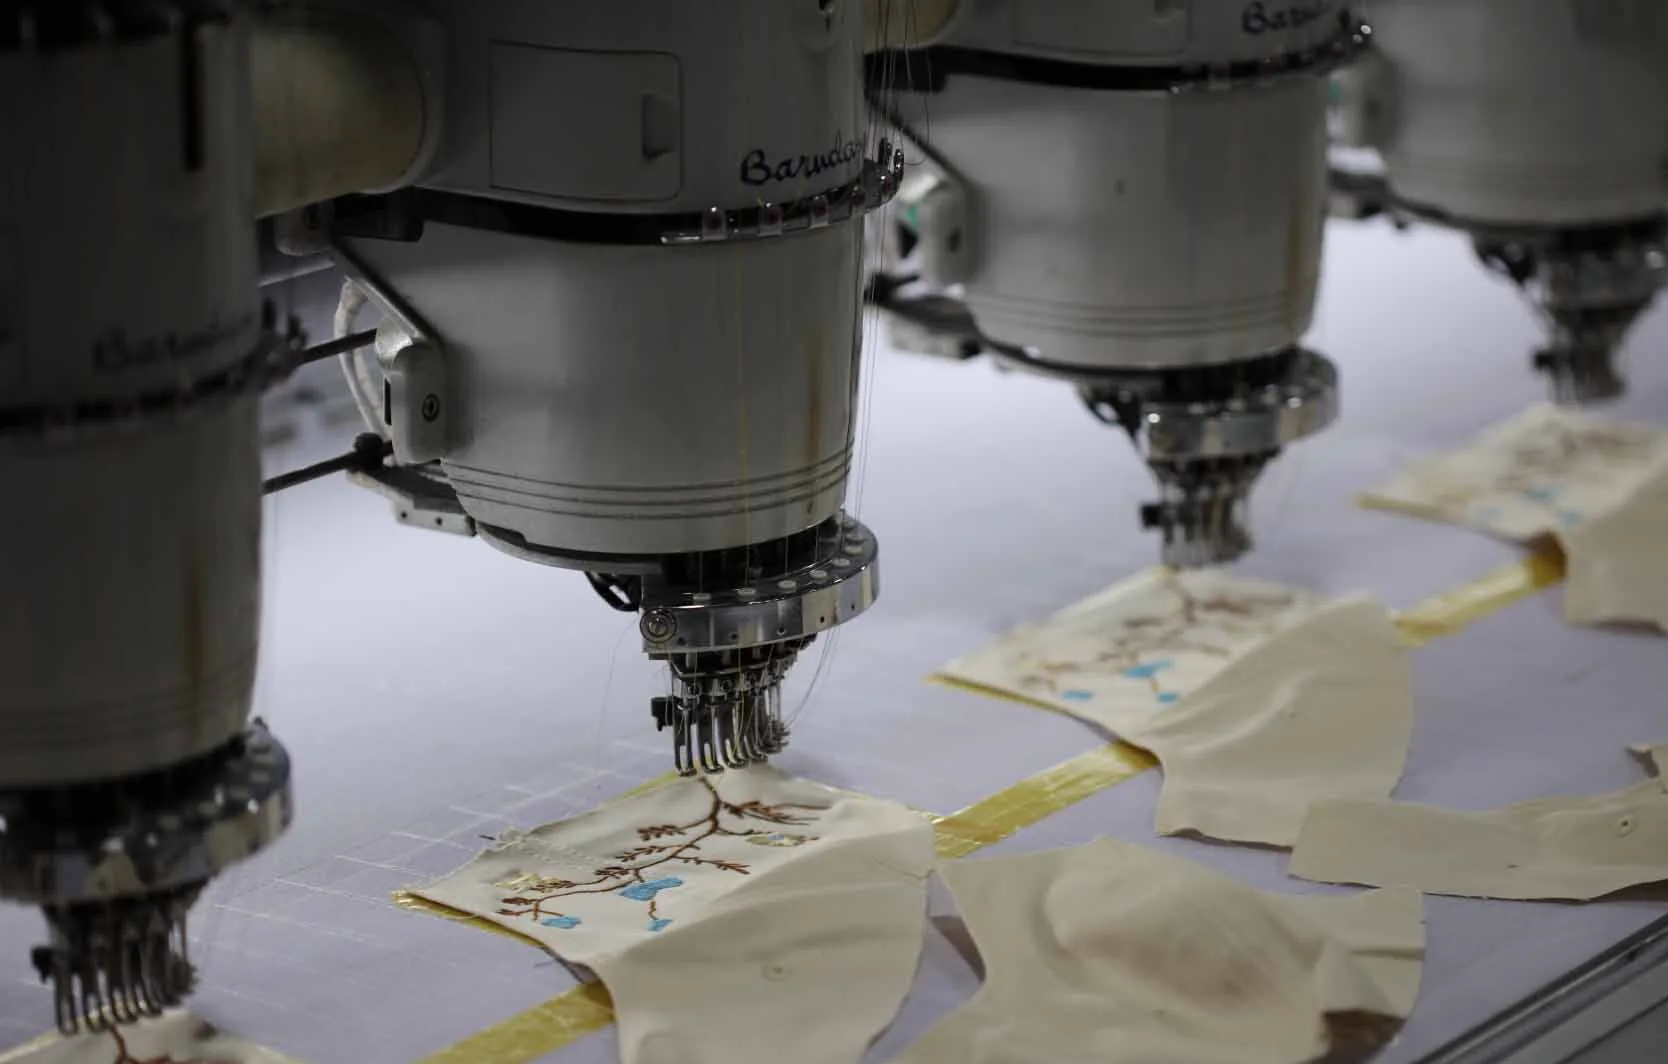
Step 7: inspect the caps during and after production
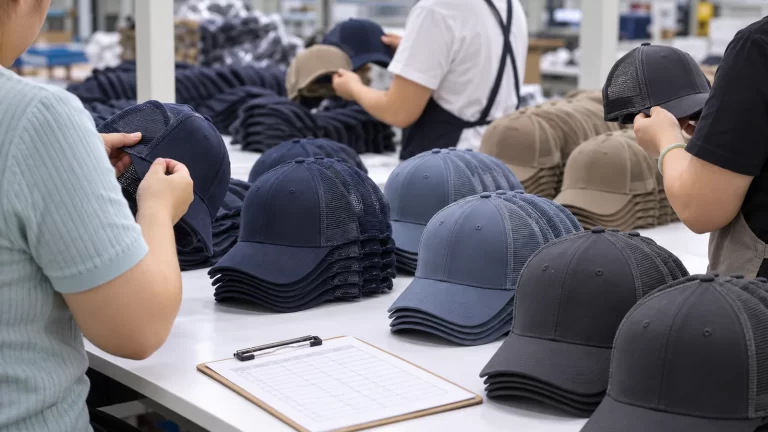
Quality control should happen during production as well as before packing. The team can compare materials, sewing, cap shape, logo position, labels and finishing with the approved requirements. Final inspection can confirm quantity, cleanliness, packing and carton information.
For more detail, see the MasterCap Quality Control information.
Step 8: pack and ship the finished order
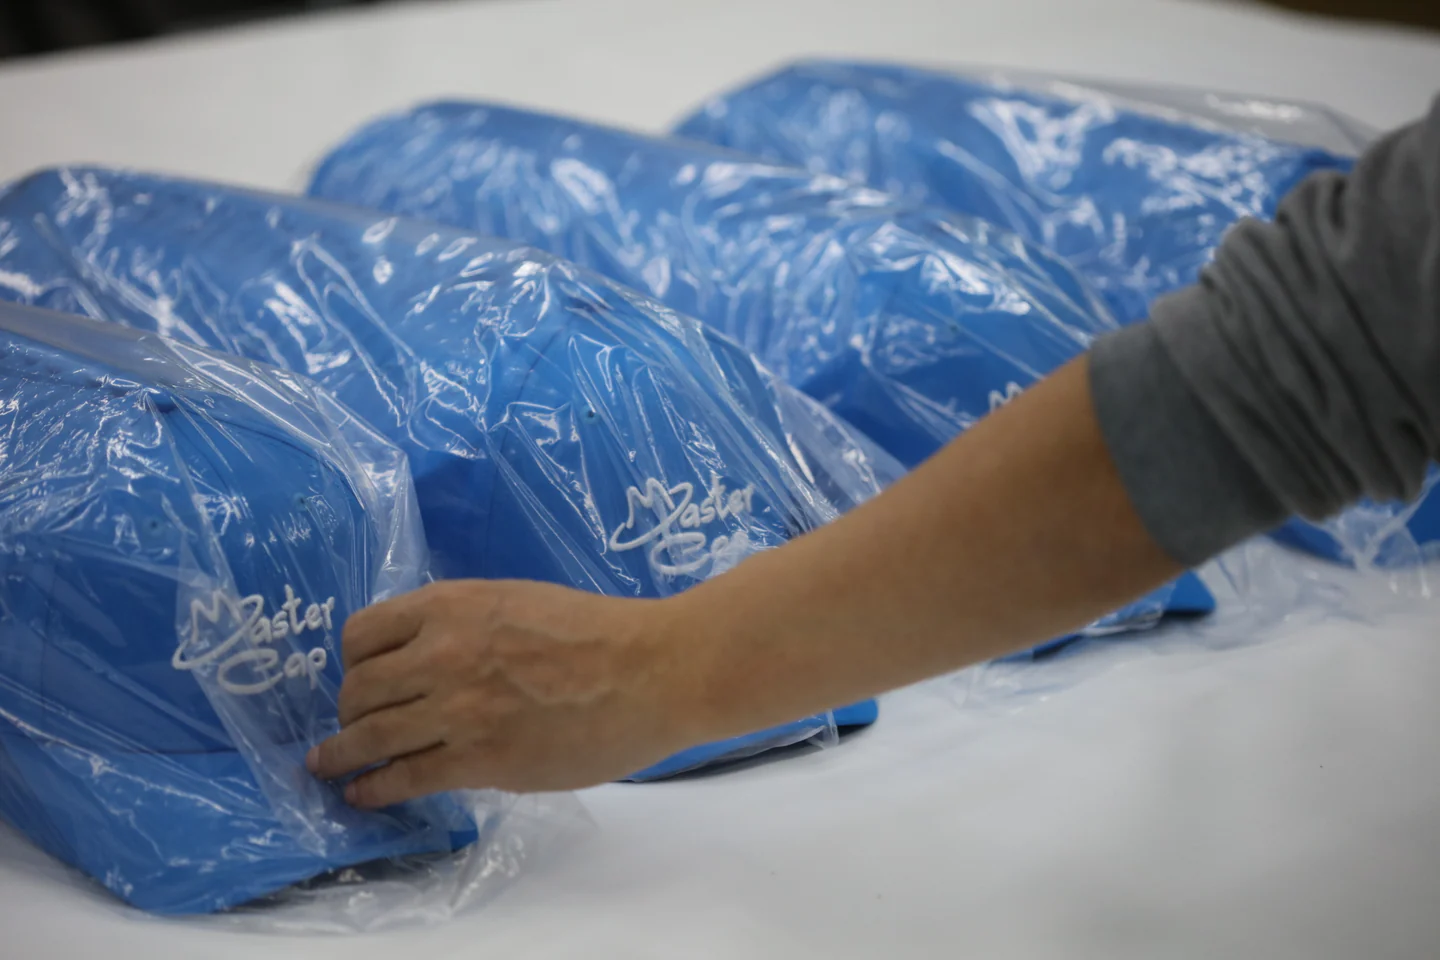
After final approval, the caps are packed according to the order instructions and prepared for delivery. Confirm the shipping address, cartons and documents before the goods leave the factory.
What should a first-time buyer prepare?
- A simple product idea or reference photo
- Logo artwork and preferred colors
- Estimated quantity and target date
- Delivery country or postal code
- Any label, hangtag or packaging needs
Starting with these basics helps a supplier give practical advice without making the first conversation complicated.
Common questions about custom cap production
Do I need a finished design before contacting a supplier?
No. A reference photo, logo and basic product idea are enough to begin. The supplier can help confirm the shape, materials and decoration method.
Why is a physical sample important?
It shows how the shape, fit, fabric, logo and finishing work together. Approving a sample reduces avoidable changes during bulk production.
How long does custom cap production take?
The timing depends on the design, materials, quantity, sampling and production plan. Ask for a project-specific schedule after the details are confirmed.
What is the most important quality check?
Compare the finished caps with the approved sample and written requirements. Check the shape, materials, sewing, logo, labels, quantity and packing.
Ready to discuss your custom cap idea?
Send your logo, reference images, estimated quantity and delivery country. The MasterCap team can help you turn the idea into a clear sample and production plan.
Start Your Custom Cap Project
Ready to turn your cap brief into a production plan?
Send your target style, quantity, artwork and delivery requirements so the MasterCap team can recommend the next sampling and production steps.