3D vs Flat Embroidery for Custom Caps: How Buyers Should Choose
Compare 3D puff and flat embroidery for artwork detail, crown structure, fabric, seams, sampling and alternative custom-cap decoration methods.
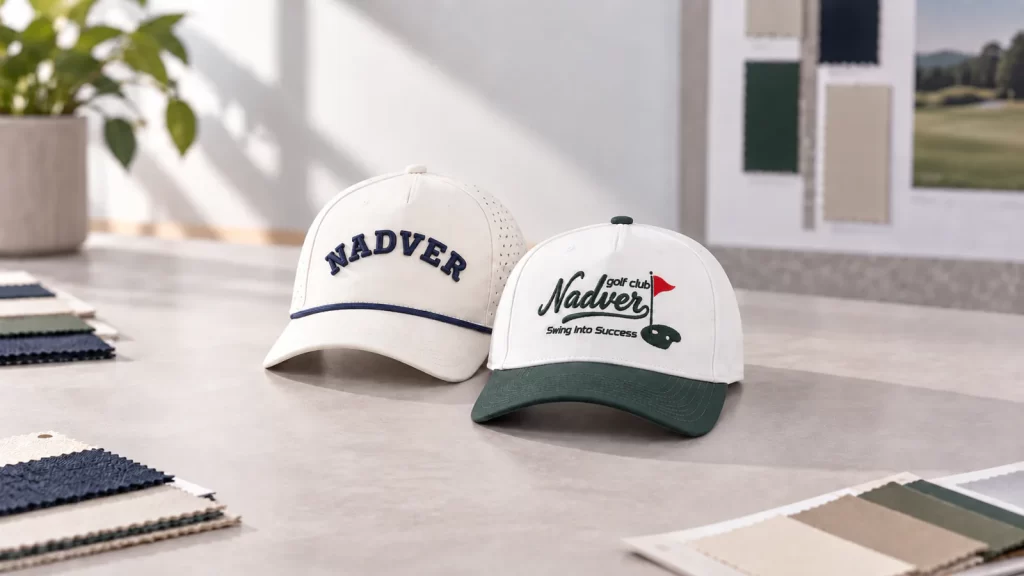
Choose flat embroidery when artwork depends on smaller text, fine lines or several detailed areas; choose 3D or puff embroidery when the design has bold shapes that can carry visible height. Neither method is automatically better. The cap’s crown support, seams, fabric, logo size and stitch plan determine whether the result will remain clear and balanced on the finished product.
This guide helps custom-headwear buyers compare the two methods before sampling. It does not set universal minimum letter sizes, stitch counts or foam heights: those limits depend on the artwork, materials, equipment and approved sample. If the silhouette is still open, start with the cap structure and fit guide, then review the MasterCap embroidery gallery.
Quick comparison: flat vs 3D embroidery
| Decision point | Flat embroidery | 3D / puff embroidery |
|---|---|---|
| Visual effect | Thread sits closer to the fabric surface | Selected areas are raised for stronger depth |
| Artwork direction | Often better for finer lines, smaller lettering and multicolor detail | Often better for bold lettering and solid shapes |
| Small gaps and corners | Usually offers more control, subject to digitizing and scale | May lose definition when raised areas are too narrow or complex |
| Crown and fabric | Can suit a wider range of surfaces when correctly stabilized | Benefits from a stable area and artwork planned for added height |
| Center seam | Possible with careful placement and digitizing | Requires particular caution where raised elements cross the seam |
| Approval | Production-size strike-off or finished-cap sample | Physical sample showing height, edges and coverage |
The choice should begin with the production-size artwork, not a preference for one method name. A logo may use flat embroidery for small text and 3D embroidery for one bold word or symbol. The approved cap sample should govern the final decision.
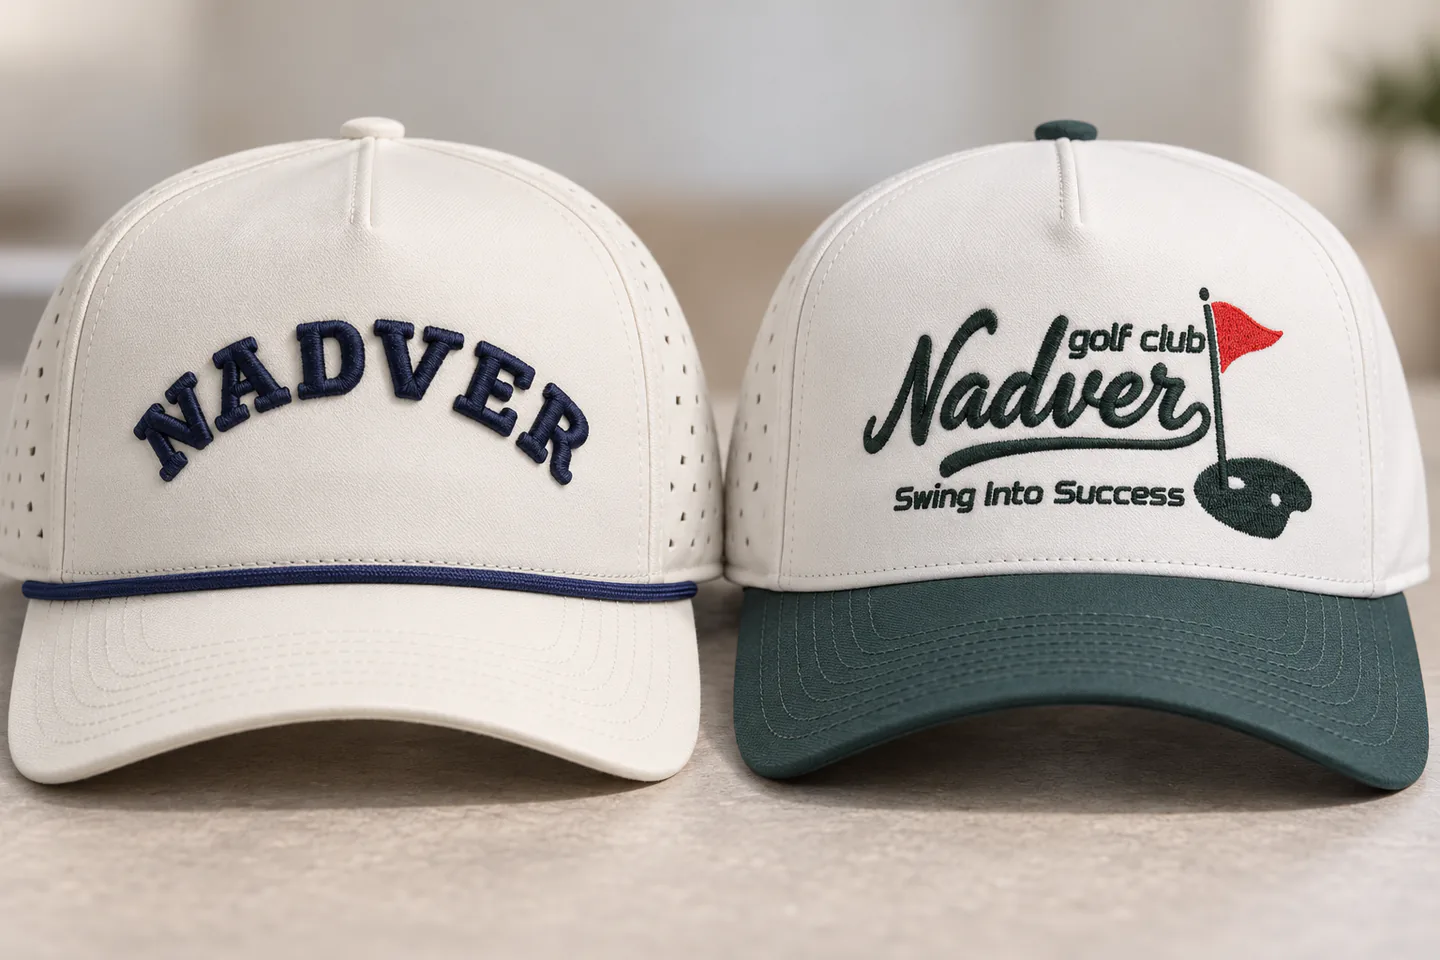
Flat embroidery prioritizes surface detail
Flat embroidery stitches the design close to the cap surface. It is a practical starting point for logos with multiple colors, outlines, smaller lettering or several separate elements. The method still has physical limits: thread width, fabric movement, backing, underlay, pull compensation and the curve of the crown all affect clarity.
- Review the smallest letters and gaps at production size.
- Keep critical details away from a center seam unless a tested result is approved.
- Check whether the fabric needs additional stabilization.
- Approve thread color and sheen under representative lighting.
- Inspect the inside finish as well as the front appearance.
Flat embroidery is not automatically lightweight or simple. A large, densely filled design can still add stiffness and may affect a soft crown. The digitized stitch plan and physical sample matter more than the label alone.
3D or puff embroidery creates selected raised areas
In a common puff construction, embroidery is built over a compatible foam layer so selected artwork areas stand above the cap surface. The technique can give bold letters, numbers and simplified symbols a more prominent profile. It is less suitable for every fine line, tight corner or small enclosed space.
- Use clear, substantial shapes rather than forcing every detail into a raised treatment.
- Plan where raised areas start and stop so exposed foam or weak edges are avoided.
- Check the relationship between embroidery height, crown curve and viewing angle.
- Review where raised and flat areas meet.
- Confirm the execution on the selected cap material.
A structured front often provides a more stable surface, but structure alone does not guarantee a good result. Fabric, panel geometry, seam position, backing, artwork scale and digitizing still need to work together.
Match the artwork to the crown, seam and fabric
The same logo can require different treatment on a five-panel trucker, a six-panel baseball cap and a soft unstructured style. Before requesting a sample, review these inputs together:
- Logo size: specify finished width and height.
- Panel layout: identify seams, darts and strong curves.
- Crown support: consider how the front holds its form before and after embroidery.
- Fabric: note stretch, weave, texture, coating and finish.
- Placement: evaluate the logo on a worn cap from front and side.
- Color: treat digital or Pantone references as targets requiring material and thread approval.
Vector artwork helps separate shapes and colors for digitizing, but it does not prove manufacturability. A production-size embroidery preview and physical sample are more informative than an enlarged screen mockup.
Flat and 3D embroidery can work together
A combined design can use 3D embroidery for one dominant word or symbol and flat embroidery for outlines, small text or supporting graphics. This often preserves hierarchy without forcing small details into a raised construction.
The sequence and boundaries need to be planned during digitizing. Buyers should check whether raised areas remain clean, flat details stay readable and the design feels balanced on the selected crown.
When a patch or transfer may be a better choice
If the artwork contains very fine detail, a photographic effect, a distinct material surface or a shape that needs to be produced separately, compare alternatives before simplifying the logo too aggressively.
| Alternative | Useful when | What to approve |
|---|---|---|
| Woven patch | Fine lines or small text need a flatter thread-based surface | Clarity, edge, backing, attachment and crown fit |
| Embroidered patch | A badge shape and visible thread texture suit the design | Coverage, border, thickness and attachment |
| Silicone transfer | A clean technical or dimensional logo suits compatible fabric | Material, height, color, adhesion and application test |
| Printed or transferred graphic | Multicolor detail or gradients are inefficient in thread | Color, opacity, hand feel, adhesion and fabric response |
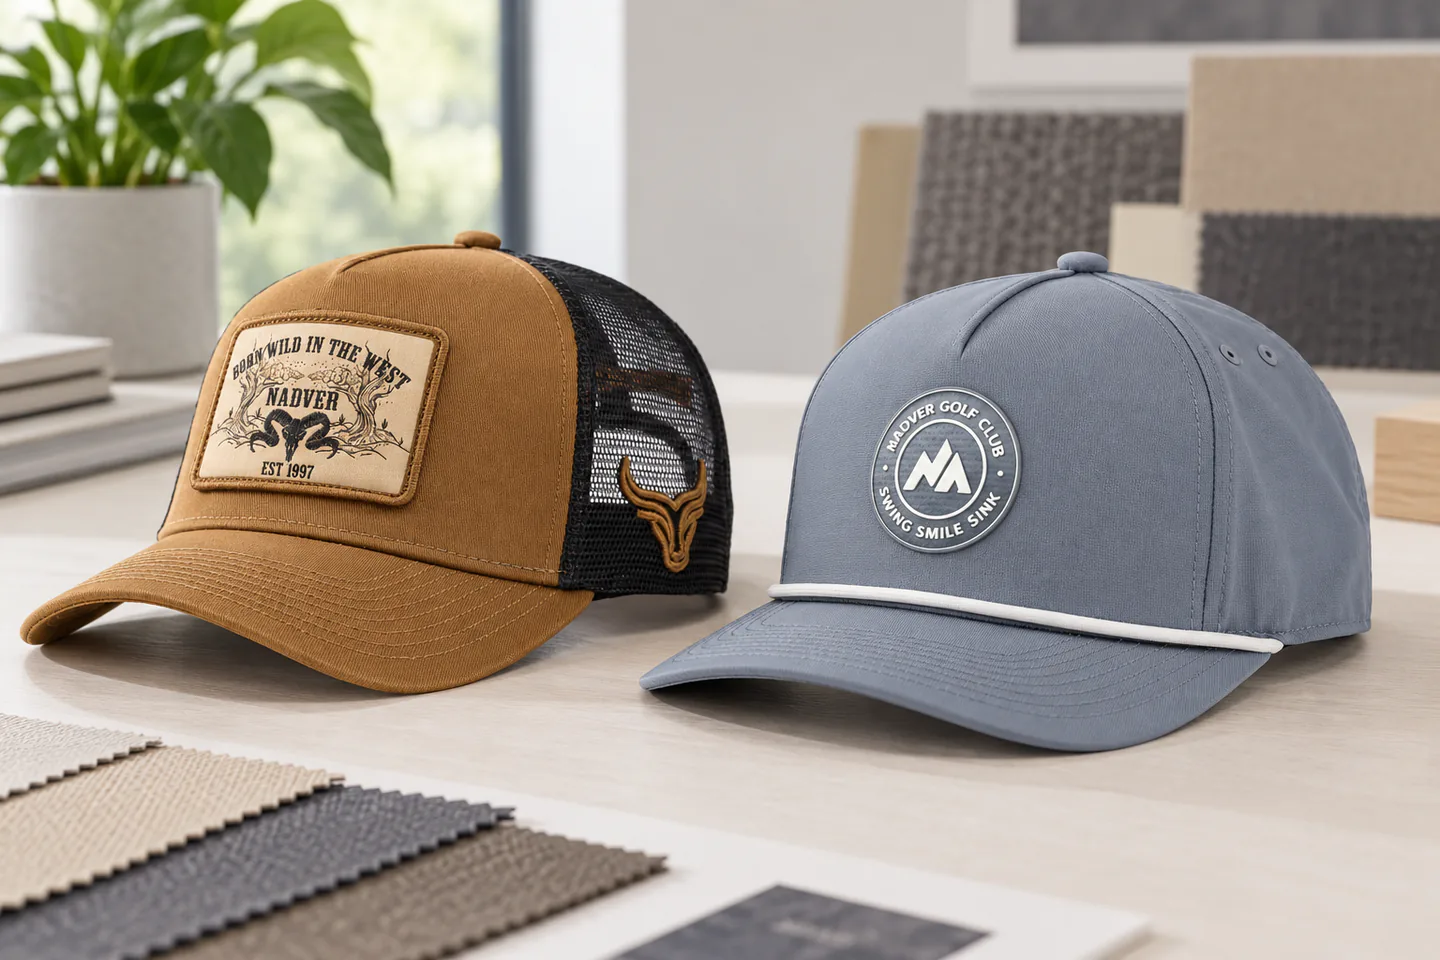
MasterCap product examples
These published products show different decoration directions on complete cap constructions. They are visual references, not universal production specifications.
3D embroidery
The DM50-0046 golf performance rope cap uses a structured five-panel front with a raised embroidered logo.
Flat embroidery
The DM50-0055 two-tone golf performance cap provides a multicolor flat-embroidery example.
Woven patch with mixed embroidery
The DM50-0146 western five-panel trucker cap combines a woven front patch with flat and raised embroidery in other positions.
Silicone-transfer alternative
The DM50-0043 golf performance rope cap shows a silicone heat-transfer logo on structured stretch fabric.
What buyers should approve on the sample
- Correct logo version, finished dimensions and placement.
- Flat, raised or combined areas match the artwork plan.
- Small lettering, gaps, corners and outlines remain readable.
- Seams and crown curves do not distort critical elements.
- Thread colors and sheen are acceptable on the selected fabric.
- Raised areas have clean coverage, edges and transitions.
- The crown retains the intended shape after decoration.
- The inside finish and backing are acceptable.
- The approved sample, artwork and placement measurements are recorded for bulk comparison.
Send production-size artwork, target cap shape, fabric direction, placement and quantity through the MasterCap contact page. Decoration feasibility and any setup or quantity implications should be confirmed after the project details are reviewed.
Frequently asked questions
Is 3D embroidery better than flat embroidery?
No. 3D embroidery creates selected raised areas, while flat embroidery usually offers more control for finer detail. The better choice depends on the production-size artwork, cap structure, fabric and desired hierarchy.
Can small text use puff embroidery?
Small or narrow elements may lose definition when raised. Flat embroidery, a woven patch or another method may be more suitable, but the result should be tested at production size.
Can embroidery cross the center seam?
It can, but seams can affect registration and clarity. Keep critical small details away from the seam where possible and approve the result on the actual crown.
Can flat and 3D embroidery be used in one logo?
Yes. A common direction is to raise the main word or symbol and keep outlines or smaller supporting details flat. Boundaries and production sequence should be reviewed during digitizing and sampling.
Does embroidery method determine MOQ?
Not by itself. Quantity requirements can also depend on cap style, fabric, colors, placements, setup, patches or molded components, labels and packaging. Confirm the final requirement after the full specification is reviewed.
MasterCap references used for this guide
Decoration Support
Need the right decoration method for your artwork?
Send your logo, cap reference, fabric direction and quantity for guidance on embroidery, patches, printing, transfers and sample approval.